How to Build an Outdoor Kitchen, and When to Hire It Out
A block outdoor kitchen is well within reach of a competent DIYer, with two exceptions that are worth being clear about up front: the gas line and, in most cases, the electrical. Those are licensed work, and in Tucson running your own gas to an island is both a permit problem and a genuine safety one.
Everything else, the footing, the block, the finish and the counter, is ordinary construction. Here is the sequence, in order, with the parts that catch people out flagged as they arrive.
The real sequence
1. Layout and utilities planning
Mark the footprint on the ground and live with it for a few days. Work out where gas, power and water will come from and what route they take. Decide this before you dig, because the trench has to be open before the footing goes in.
2. Permits
If gas, electrical, plumbing or a roof are involved, sort this now. Retro permitting is worse than permitting.
3. Footing
Excavate below the loose surface material to firm ground, and be prepared for caliche. Form and pour a footing sized for the island. This is the step people skip by building on an existing patio slab, and it is the single most common cause of the cracking that shows up three years later.
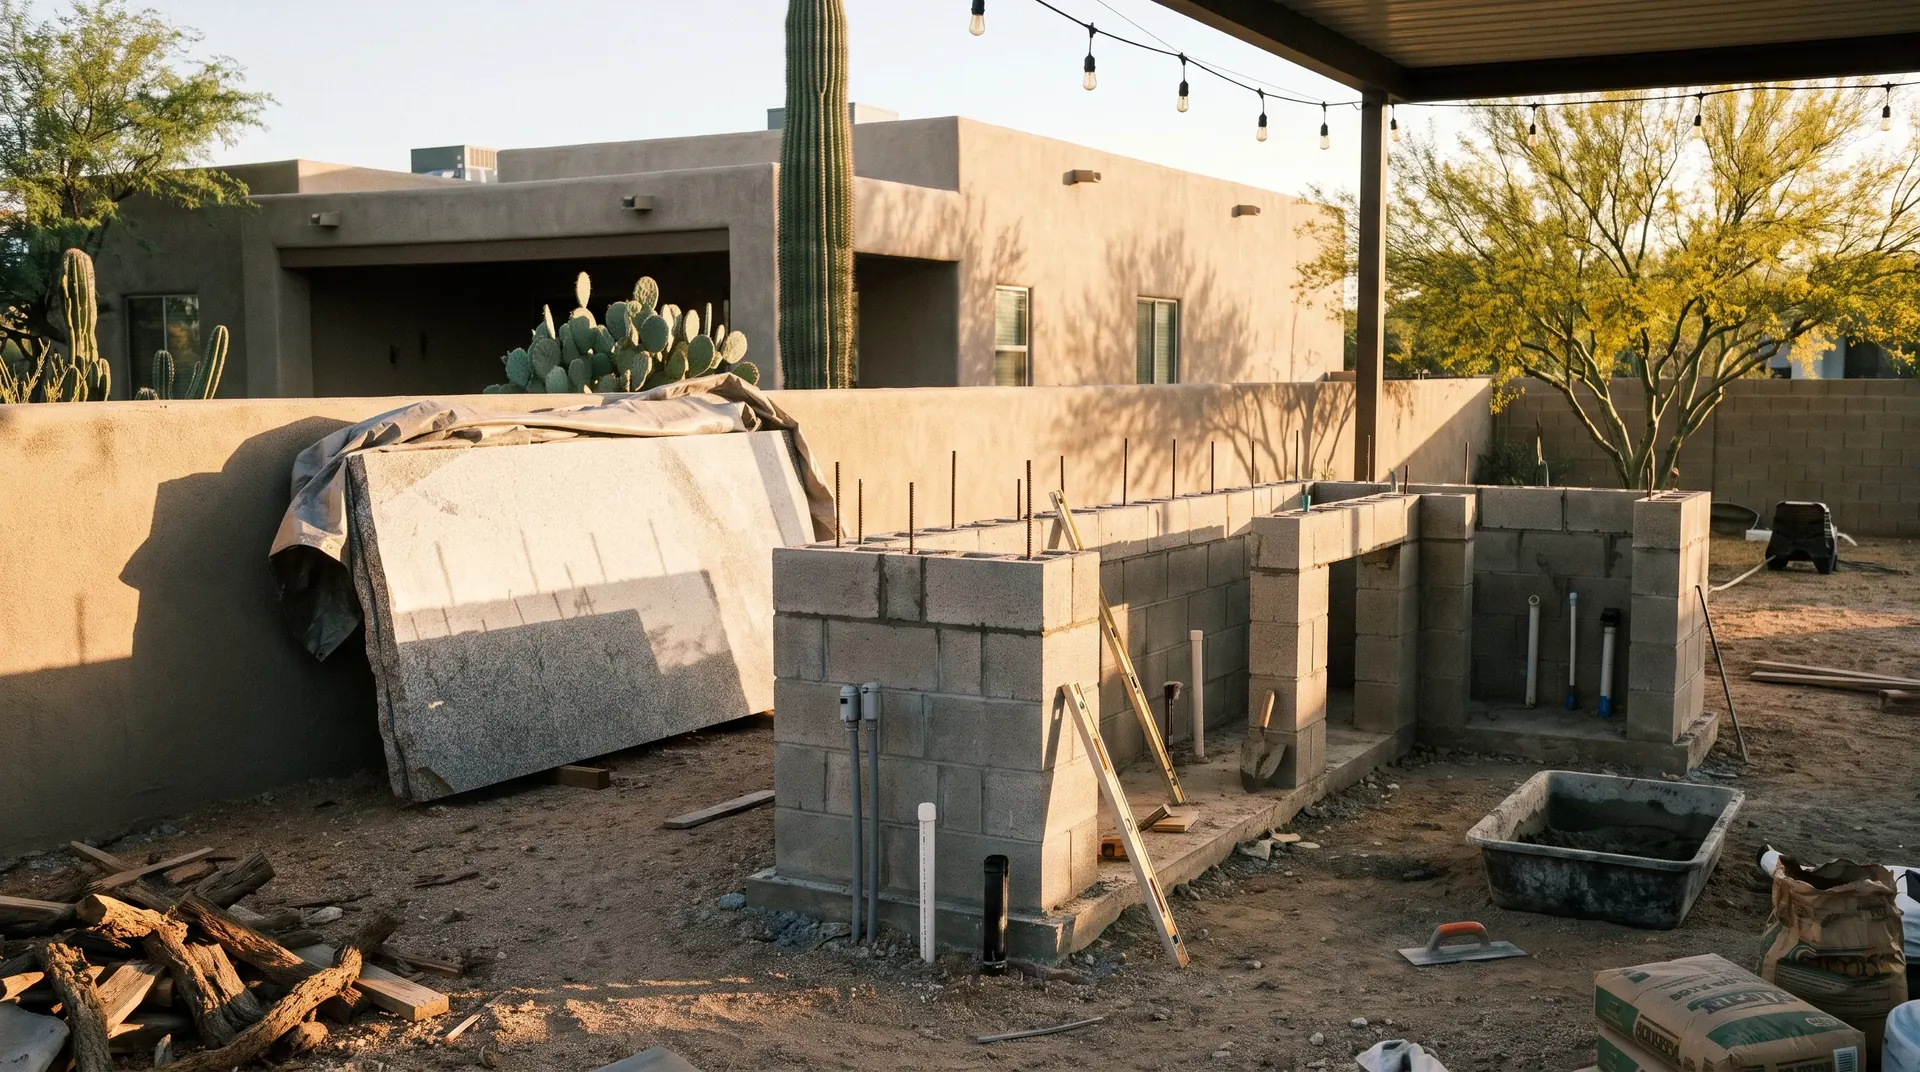
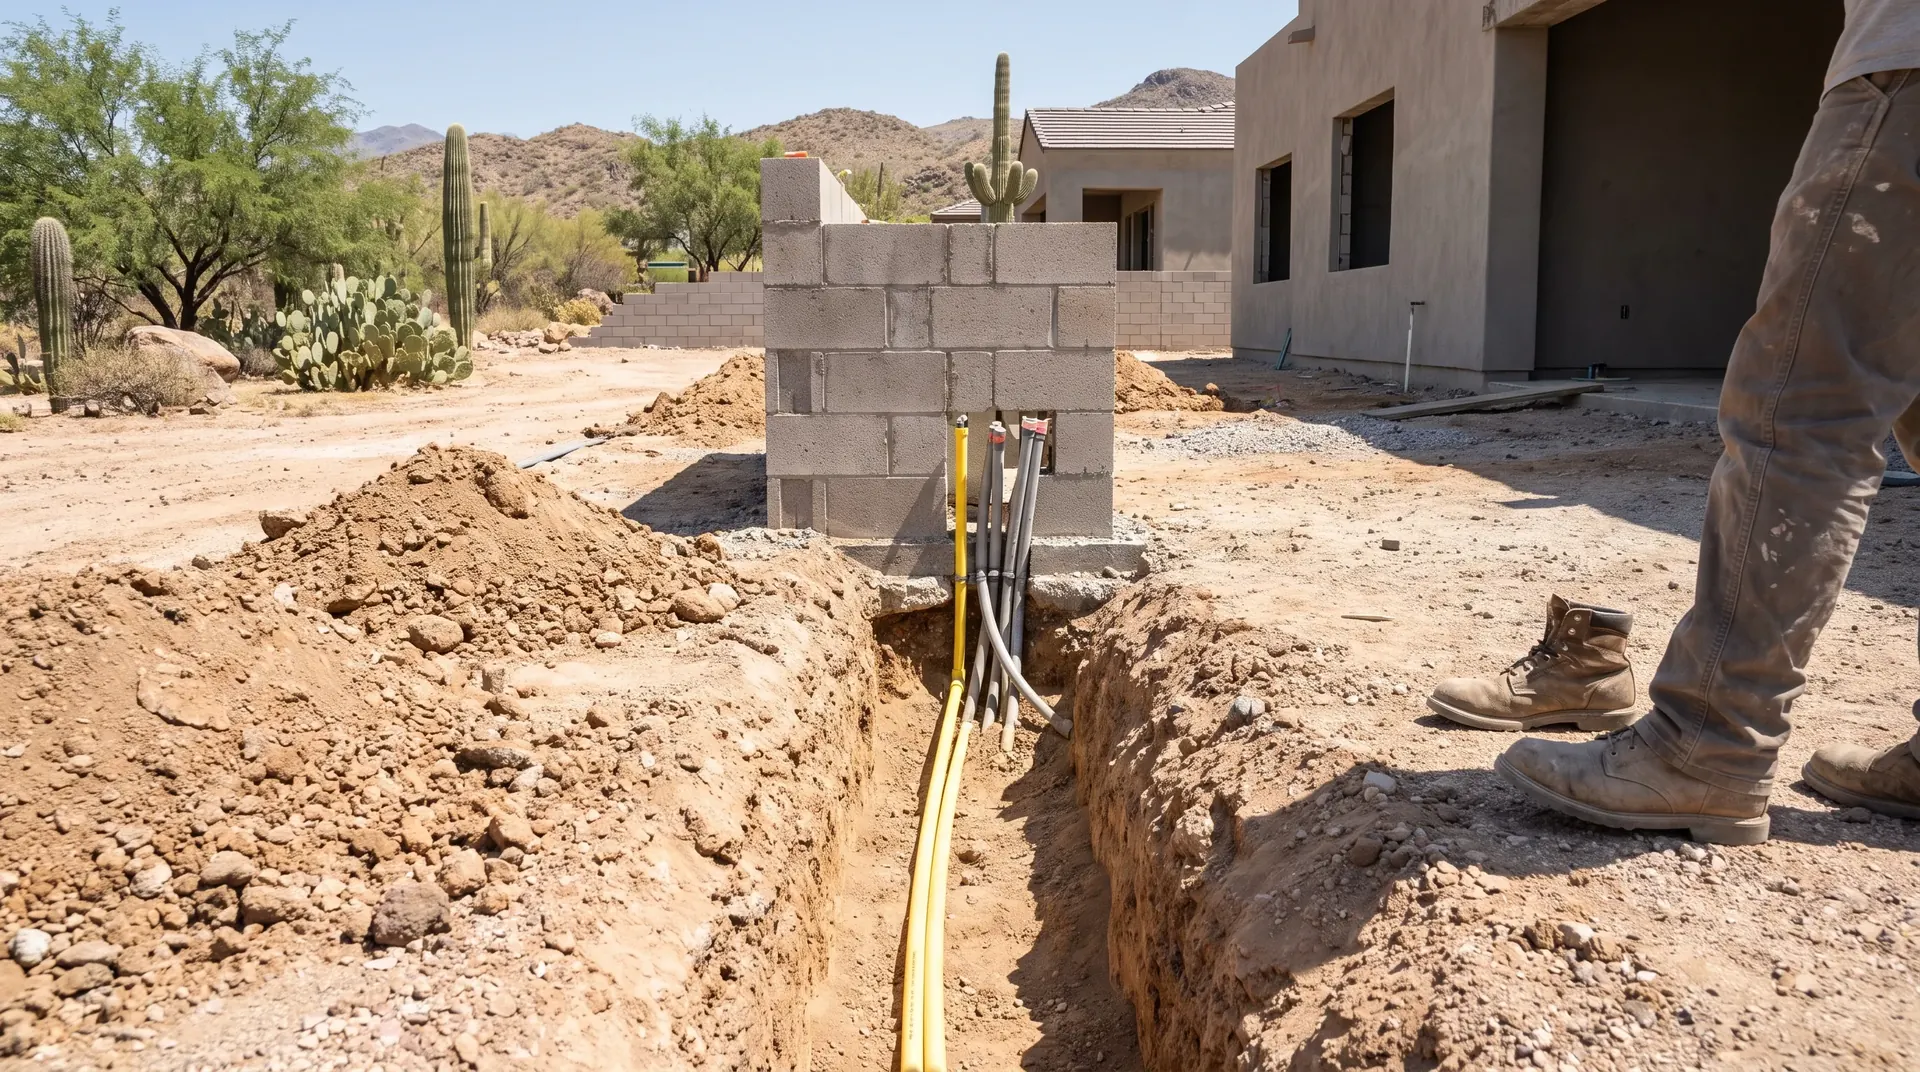
4. Utility rough in
Sleeves and stub ups for gas, electrical and water placed before you lay block, positioned to come up inside the island where the appliances need them. Getting this wrong means coring finished block later.
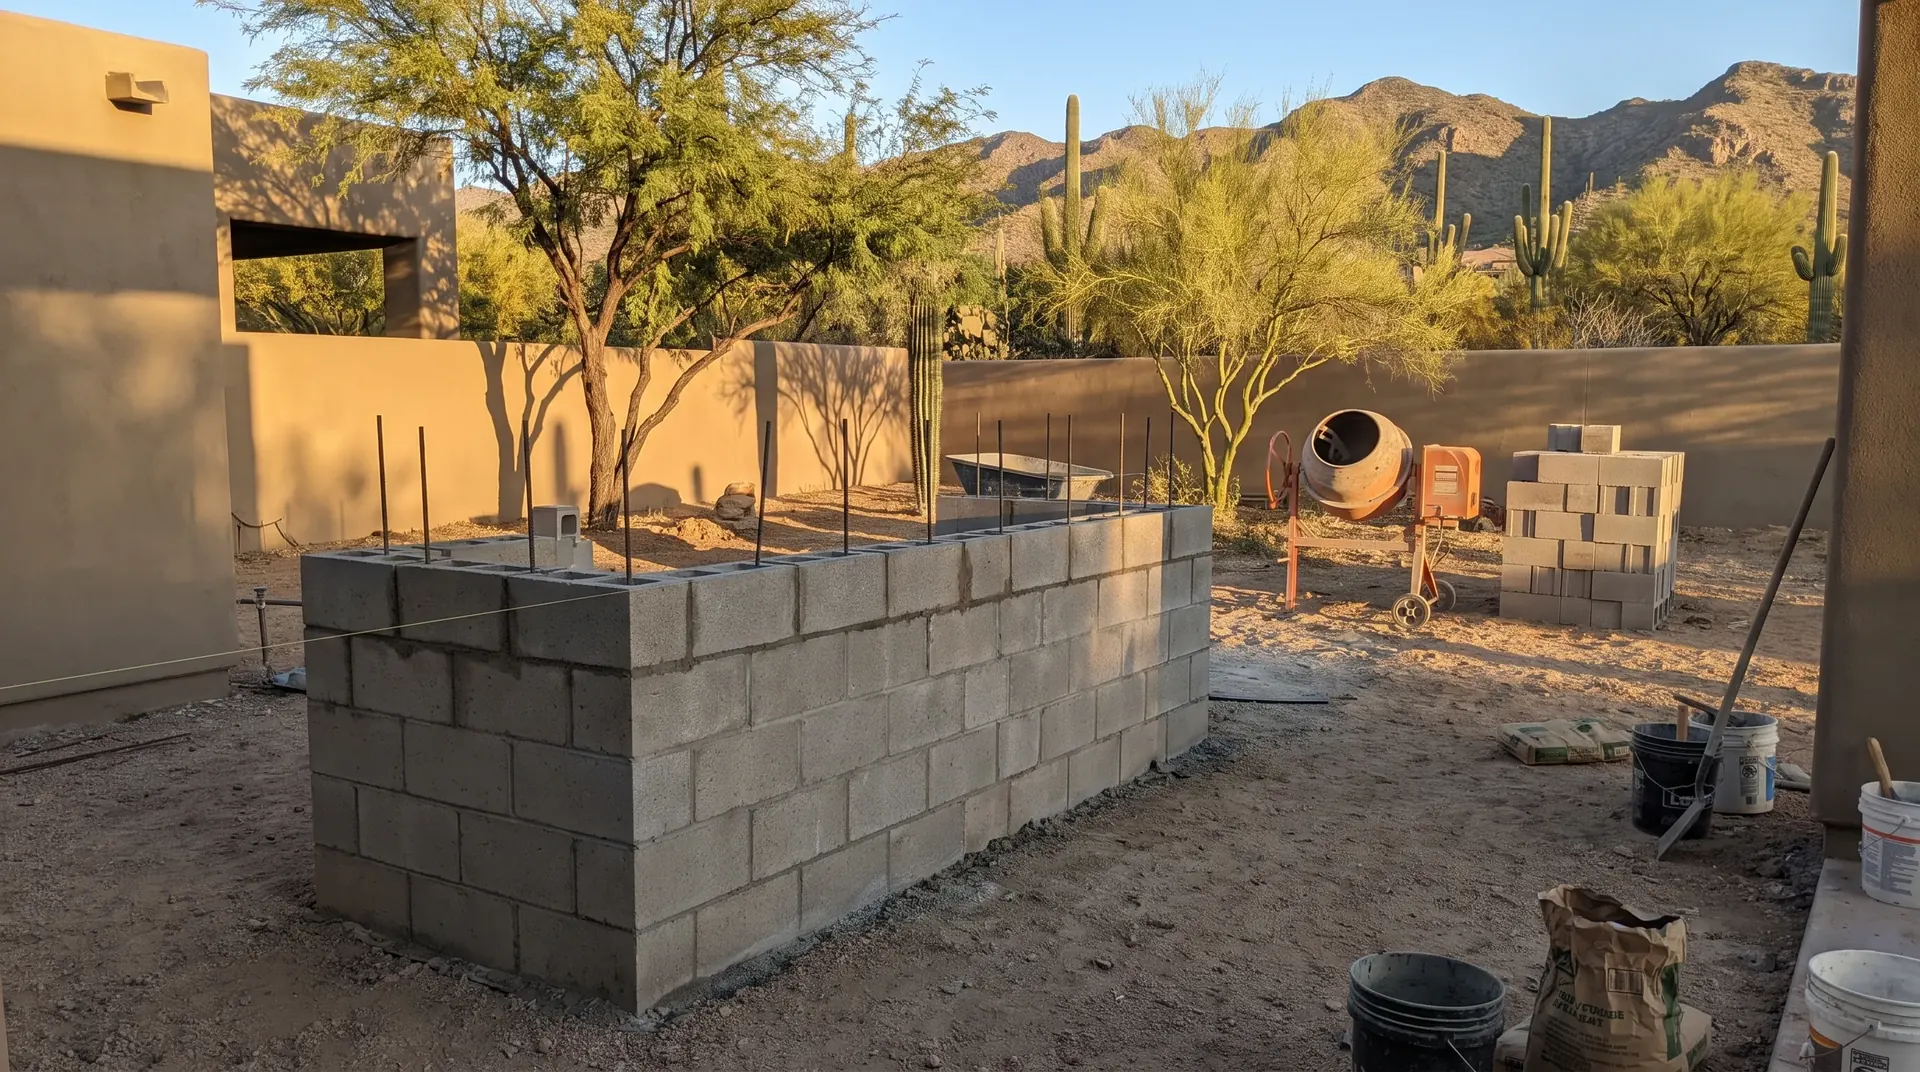
5. Block work
Lay the shell in standard CMU, keeping courses level and corners square. Set rebar in the cells and grout them. Leave the appliance openings as you build rather than cutting them afterwards.
Getting the opening dimensions right is the hard part. Work from the installation manual for the exact appliance, and add the tolerance it specifies rather than a tolerance that seems sensible.
6. Inspection
Where a permit applies, the rough in gets inspected before you cover anything up.
7. Finish
Scratch and brown coat, then a finish coat of stucco, or stone veneer or tile over a suitable substrate. Allow proper cure time between coats. Rushing this in summer heat is why so many finishes craze.
8. Counter
Template off the finished structure, not off your drawing. Set with a slight fall so water sheds. Bracket any seating overhang properly.
9. Appliances and commissioning
Appliances in last. Gas connections tested and checked. Doors and drawers fitted.
The four that catch people out
The footing
Building on an existing slab. It is the most tempting shortcut, because there is already flat concrete there, and it is the one that reliably produces cracking.
Appliance openings
Grill dimensions and required tolerances vary considerably. An opening cut a half inch small in finished block is a genuinely difficult problem to solve without damaging the surround.
Gas sizing
Pipe size is determined by total burner load and run length. Connecting a modern grill and a side burner to a line sized for something smaller gives you poor performance that looks like an appliance fault.
Summer curing
Stucco and mortar cure too fast in Tucson summer heat, which weakens them and causes crazing. Building in June and July means shading the work and keeping it damp, and it is a real reason to schedule a build for spring or autumn.
What to hand over
The gas is not optional. It needs a licensed trade and, in nearly every case, a permit and an inspection. The same generally goes for new electrical circuits.
Beyond that, the honest answer is that it depends on how you value your weekends. The block work is straightforward and slow. The finish coat is a skill, and an amateur stucco finish is visible forever. The counter is worth having templated and fitted professionally because the material is expensive and cutting it is unforgiving.
A common and sensible split is to do the footing and block yourself and hand over the utilities, the finish and the counter. We are happy to work that way, and we would rather do the gas properly on a kitchen you built than have you find someone who will run it without a permit.
See outdoor kitchen installation and the permit guide.
Answers
DIY questions people ask
Can I build my own outdoor kitchen?
The footing, block and finish, yes, with reasonable skill and a lot of weekends. The gas line, generally no, both practically and legally.
Can you build your own outdoor kitchen?
Same answer. What most people underestimate is not the difficulty of the block work but the footing excavation and the appliance opening tolerances.
How to install an outdoor kitchen?
Footing, utility rough in, block with rebar and grout, inspection, finish, counter, appliances. In that order. Almost every failure comes from doing a later step before an earlier one.
What should I build my outdoor kitchen out of?
Block for the structure, stucco or stone veneer for the finish, granite or porcelain for the counter, marine grade stainless or powder coated aluminium for doors.
What is the cheapest way to build an outdoor kitchen?
Doing the structural work yourself and handing over only the licensed trades, or reusing an existing sound island.
Do I need a permit to install an outdoor kitchen?
If it involves gas, electrical, plumbing or a roof, almost certainly. See our permit guide for how Tucson and Pima County differ.
Free quote
Building it yourself?
If you want to do the structure and hand over the gas, the finish or the counter, tell us which parts. We quote partial work.
- We call you back, usually the same working day.
- We come out and measure before anyone quotes a number.
- The quote is itemised, with the appliance allowance shown separately.
- No sales visit until you ask for one.
Keep reading
Other guides worth your time
How Much Does an Outdoor Kitchen Cost in Tucson?
Real ranges by tier, what pushes the number up, and where people waste money.
Outdoor Kitchen Permits in Tucson and Pima County
When you need one, which office you deal with, and what happens if you skip it.
Is It Cheaper to Build or Buy an Outdoor Kitchen?
Prefab, modular and built in place compared on cost, lifespan and resale.